Laminate flooring has become a popular choice for homeowners due to its durability, affordability, and ease of installation. This versatile material offers a beautiful aesthetic that mimics the look of wood or stone at a fraction of the cost. Installing laminate flooring is a rewarding option for those seeking a weekend project with a high return on investment.
This comprehensive guide will equip you with the knowledge and steps to achieve a successful DIY laminate flooring installation. Through meticulous preparation, proper technique, and expert tips, you’ll be well on your way to a stunning and functional new floor.
Pre-Installation Preparation
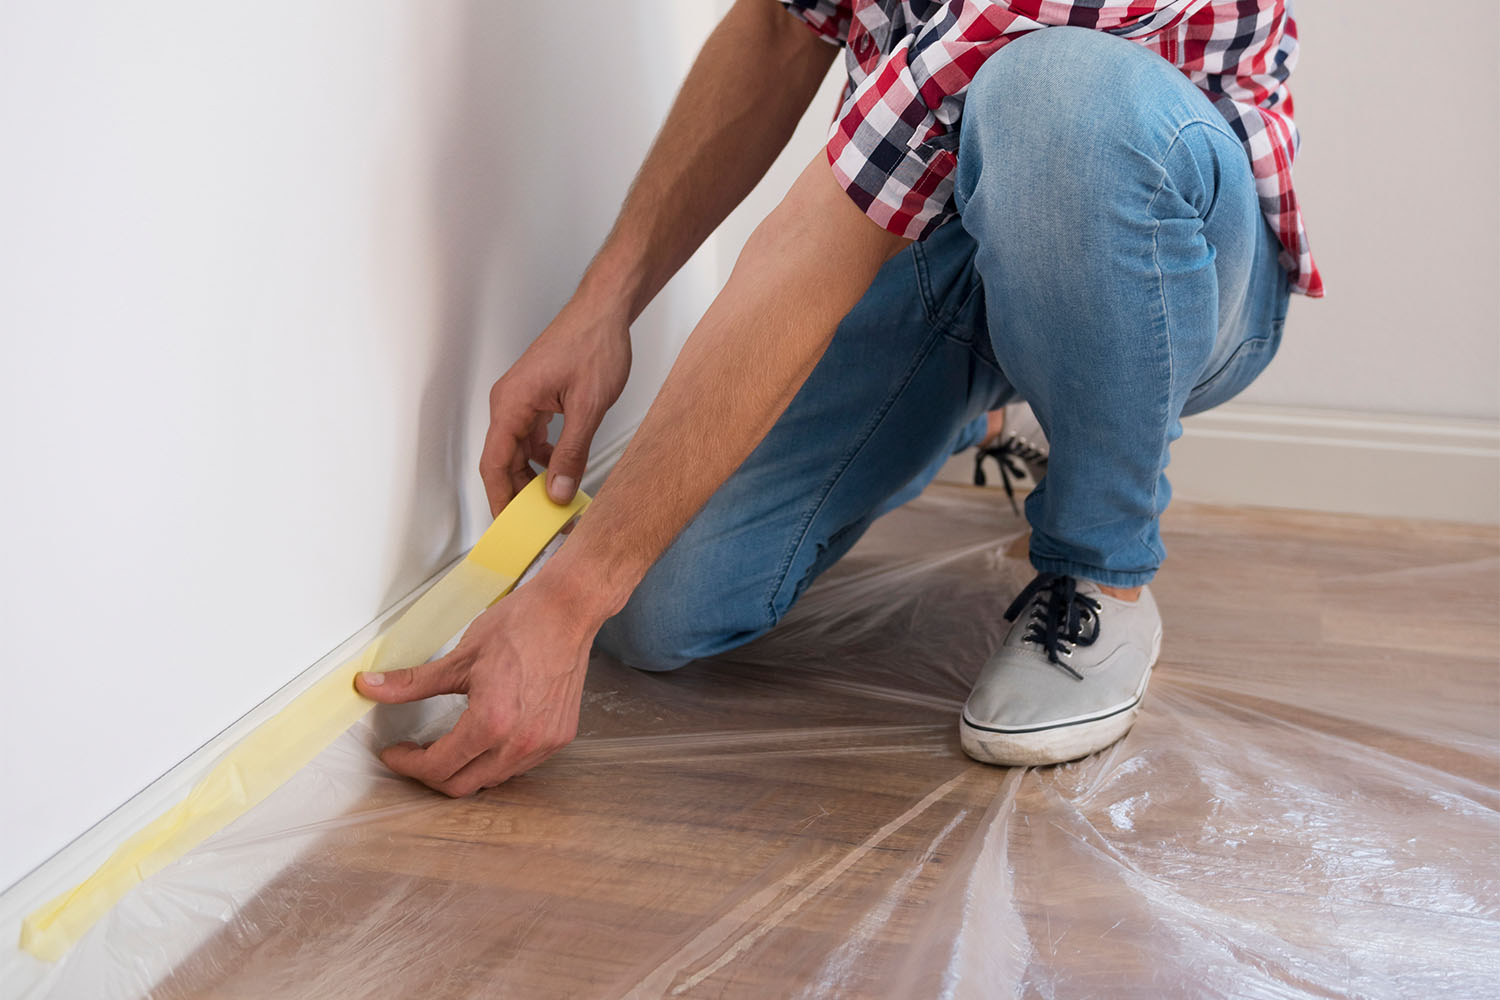
Before starting your laminate flooring installation, careful preparation is paramount. A level and clean subfloor is the cornerstone of a successful project. Here’s how to ensure your foundation is ready: [1]

1. Subfloor Inspection
Utilize a leveling tool to meticulously assess the subfloor’s flatness. Uneven surfaces exceeding a specific tolerance (consult manufacturer specifications) will require a leveling compound for a smooth base.
Additionally, ensure the subfloor is entirely free of debris, moisture, and contaminants by thoroughly sweeping and vacuuming the area. Existing flooring may need removal depending on the project’s specifics.
2. Planning the Layout
Strategize the plank direction for optimal visual impact. Installing planks parallel to the longest wall creates a sense of spaciousness, while a perpendicular layout can visually widen narrow rooms.
Calculate the required number of laminate flooring boxes, factoring in a reasonable amount of waste (typically around 10%). Plank layout around obstacles like doorways and pipes is crucial. Remember to account for expansion by maintaining a designated gap around the perimeter of the installation area.
3. Gathering the Necessary Tools
Assemble the essential tools for a smooth installation process. This includes a hammer, tapping block, a jigsaw for intricate cuts, spacers to maintain consistent spacing between planks, a tape measure for precise measurements, and a utility knife for underlayment adjustments. The underlayment pad type should be meticulously chosen based on your specific subfloor material.
Optional tools, such as a miter saw for cleaner cuts and a pull bar for maneuvering planks in tight spaces, can further enhance the project’s efficiency and outcome.
Underlayment Installation
The underlayment is a vital layer between your subfloor and the laminate flooring. It offers a multitude of benefits, including: [2]
- Soundproofing: The underlayment absorbs sound, minimizing noise transmission within your home and to lower levels.
- Moisture Protection: A quality underlayment is a barrier against moisture vapor that could damage the laminate flooring.
- Floor Stability: The underlayment helps to smooth out minor subfloor imperfections, creating a more stable and even surface for the laminate planks to rest upon.
Installing the underlayment is a straightforward process:
- Start in a Corner: Begin in a corner of the room and unroll the underlayment with seams butting together neatly. Avoid overlapping sections, as this can create bumps in the finished floor.
- Secure the Seams: For optimal performance, use seams adhesive or seam tape specifically designed for underlayment installation (consult the manufacturer’s recommendations). This ensures the underlayment stays secure and prevents separation during laminate flooring installation.
- Navigate Obstacles: Use a utility knife to meticulously cut the underlayment for a precise fit around pipes and other obstacles.
- Crucial Reminder: Never forget to maintain a designated gap between the underlayment and the walls. This expansion gap is essential for the laminate flooring to accommodate natural expansion and contraction.
Laminate Plank Installation
Now that your subfloor is prepped and the underlayment is securely laid, it’s time to install the laminate planks themselves! Here’s a breakdown of the process, ensuring a flawless and efficient installation.

The First Row
- Strategic Starting Point: Decide where to begin laying your first row. Common starting points include doorways or the longest wall in the room. Choose a location that allows you to work your way inwards, minimizing cuts and maximizing efficiency.
- The Groove and Tongue System: Laminate planks feature a clever interlocking system – a groove on one side and a tongue on the other. These elements connect the planks seamlessly, creating a sturdy and unified floor.
- Laying the Foundation: Install the first plank with the groove facing the wall. Use spacers to maintain a consistent gap between the planks and the wall for proper expansion. These spacers will be removed later.
- Precise Measurements: For a clean finish along the wall, meticulously measure and cut the planks to size. Ensure these first-row planks fit snugly against the wall while maintaining the designated expansion gap.
- Pro Tip: Minimize Waste – Consider using leftover pieces from the first row to begin subsequent rows during the cutting process. This thoughtful approach helps reduce material waste.
Subsequent Rows
- Locking Mechanism Explained: Laminate planks typically utilize either an angled or flat-tapping locking mechanism. Consult the manufacturer’s instructions for the specific technique required for your chosen flooring.
- Connecting the Planks: Demonstrate the plank connection process – insert the tongue of one plank into the groove of the adjacent plank. Begin tapping the short end of the plank first to secure the connection.
- Ensuring Tight Connections: For a secure and seamless connection, utilize a tapping block and a hammer. Carefully tap the tapping block with the hammer to connect the planks without damaging them.
- Conquering Challenges: When encountering obstacles like pipes, pre-measure and meticulously mark the cuts on the planks before utilizing a jigsaw for precise cutouts. Additionally, door jambs may need to be undercut slightly to ensure the laminate flooring slides smoothly beneath the doorway. A jigsaw is a valuable tool for this task.
The Last Row
The final row requires special attention for a polished look. Measure and cut the planks to size, ensuring a snug fit against the wall while maintaining the all-important expansion gap.
- Pro Tip: A pull bar can be a helpful tool for the last row, which may involve narrower plank sections. The pull bar lets you gently and securely tighten the connection between the last and previous rows.
Finishing Touches
With the laminate flooring planks meticulously laid, it’s time to focus on the finishing touches that elevate your project from good to great. These details ensure a professional look and enhance the overall functionality of your new floor.
- Trims and Moldings: Install quarter-round trim along the baseboards. This trim serves a dual purpose: it conceals the expansion gap between the laminate flooring and the wall and adds a polished finishing touch to the perimeter of the room. For an extra touch of professionalism, consider using a caulk that complements the color of your laminate flooring or baseboards (consult the manufacturer’s recommendations for compatible caulking products).
- Transition Strips: Install transition strips at doorways or transitions between different flooring types (e.g., laminate to carpet). These strips provide a smooth and safe bridge between the varying floor heights, preventing tripping hazards and adding a visually appealing element.
- Cleaning Up: After installation, thoroughly sweep or vacuum the floor to remove any loose debris. For the initial cleaning, use a damp mop with a manufacturer-recommended cleaning solution specifically designed for laminate flooring. This ensures proper care and maintenance of your beautiful new floor.
Tips and Tricks for Successful Laminate Flooring
Transform your DIY project into a flooring triumph with these expert tips: [3]

- Acclimatize planks for 48 hours in the room (maintain room temperature).
- Work methodically in sections, checking levelness frequently.
- Protect your knees with pads during prolonged kneeling.
- Consider a professional for a faster and smoother installation.
- Regularly clean up dust and debris to avoid installation issues.
Hire a Professional
While laminate flooring installation is a DIY-friendly project, some situations might call for professional expertise. Suppose the project involves a large or complex space. In that case, for uneven subfloors requiring significant leveling or a lack of confidence in your DIY skills, hiring a professional installer is a wise decision. They possess the experience and tools to ensure a flawless and long-lasting laminate floor installation.
Conclusion
This comprehensive guide has equipped you with the knowledge and essential steps to achieve a professional-grade laminate flooring installation. By meticulously preparing the subfloor, utilizing the proper underlayment, and following the detailed plank installation techniques, you’ve accomplished a significant home improvement project. The resulting visually stunning and functional laminate floor is a testament to your dedication and newfound skills.
FAQs
What are the disadvantages of laminate flooring?
While durable, laminate flooring can be susceptible to moisture damage if water sits for extended periods. It also doesn’t offer the same level of comfort underfoot as some materials and may feel slightly hollow when walked on.
What is laminate used in flooring?
Laminate flooring uses a layered construction. The top layer is a photographic image replicating wood or stone. A core layer provides stability, and a backing layer protects against moisture.
Is laminate flooring wood or plastic?
Laminate flooring isn’t strictly wood or plastic. It’s a composite material. The core is typically made of high-density fiberboard (HDF), a wood product. However, the top wear layer and backing are typically plastic-based for durability.
What is laminate flooring vs vinyl?
Both laminate and vinyl flooring are budget-friendly options that mimic other materials. Laminate offers a more realistic wood look, while vinyl comes in wider design varieties and is typically softer and more water-resistant.
References
[1] https://parryscarpets.com.au/how-to-prepare-your-floor-before-installing-laminate-flooring/
[3] https://www.thisoldhouse.com/flooring/reviews/diy-laminate-flooring-install

